Restoration
The practice of moisture mapping requires a systematic approach – one that first identifies areas affected by water intrusion or excess moisture, and then guides and documents restoration efforts. This type of approach is essential for achieving thorough remediation and, ultimately, satisfying clients and insurers. So, let’s look at seven important factors that affect moisture-mapping performance.
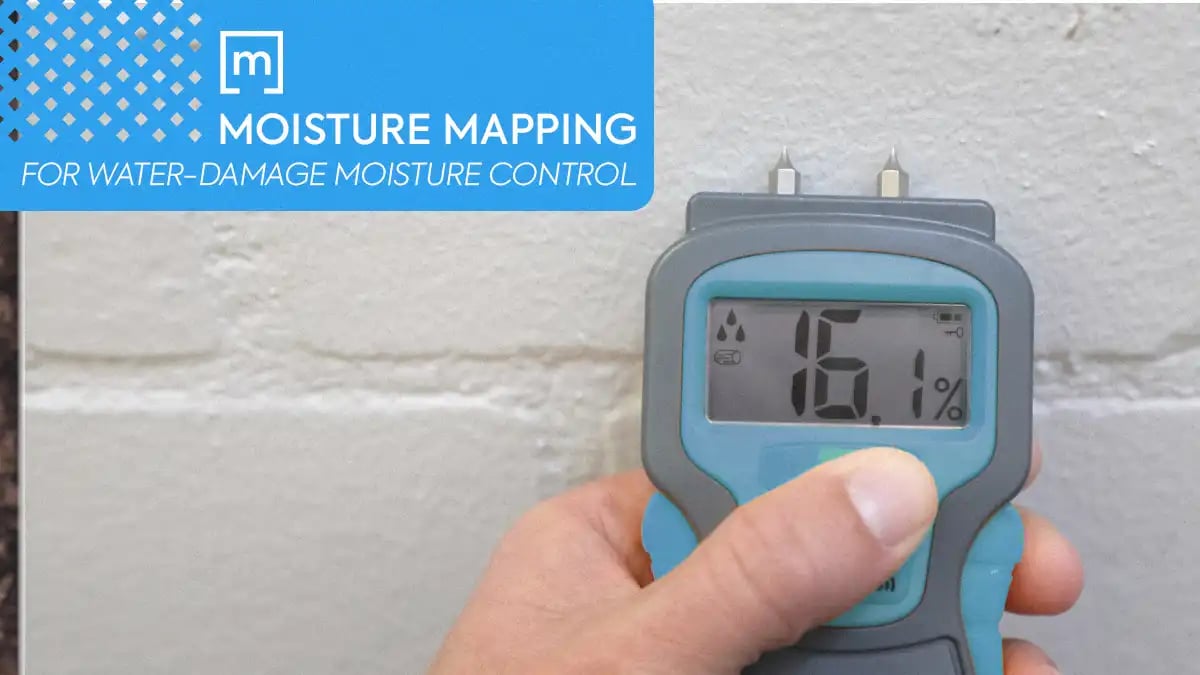
1. Employ the Right Moisture Detection Tools
During an initial visit to a job site, using advanced moisture detection tools will help define and measure the extent of moisture intrusion. These tools can include professional-quality infrared cameras, thermo hygrometers, and moisture meters (both noninvasive and material-penetrating models).
Your technicians can also undergo specialized training to learn how to detect moisture in structural materials with evaluation tools and expert techniques. This will help each individual become an expert moisture mapper.
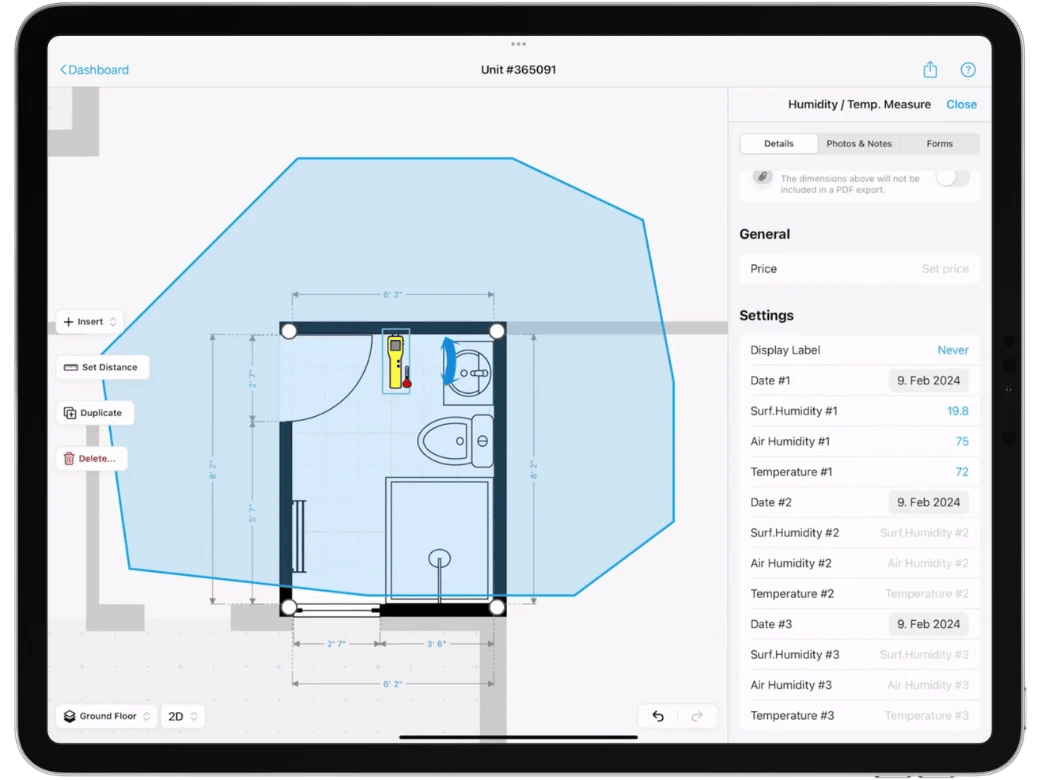
2. Leverage Mobile Moisture Mapping Software
Leveraging modern moisture-mapping technology streamlines the documentation process significantly. For instance, the magicplan app enables technicians to create detailed floor plans confidently and overlay drying methodologies and moisture data seamlessly. This not only increases precision, it also expedites documentation and data evaluation. (TIP: Make sure the app you choose also imports photos, records 360° panoramas, and allows FLIR thermal camera integration. In addition, the app should enable creation of custom mitigation checklists and use of custom attributes templates, which help standardize the way your technicians collect moisture readings.)
Using a good floor plan app also facilitates collaboration among team members. It does this by providing a centralized platform for sharing information and insights. (Whenever an adjuster asks for ‘drying logs,’ those can be submitted easily and quickly within the app. This can help speed up work approvals and payments!
And there’s another advantage as well: Visual moisture mapping enhances your business reputation by exhibiting a higher level of professionalism, compared to a non-visual approach. This can increase adjusters’ confidence and trust in your company’s capabilities.
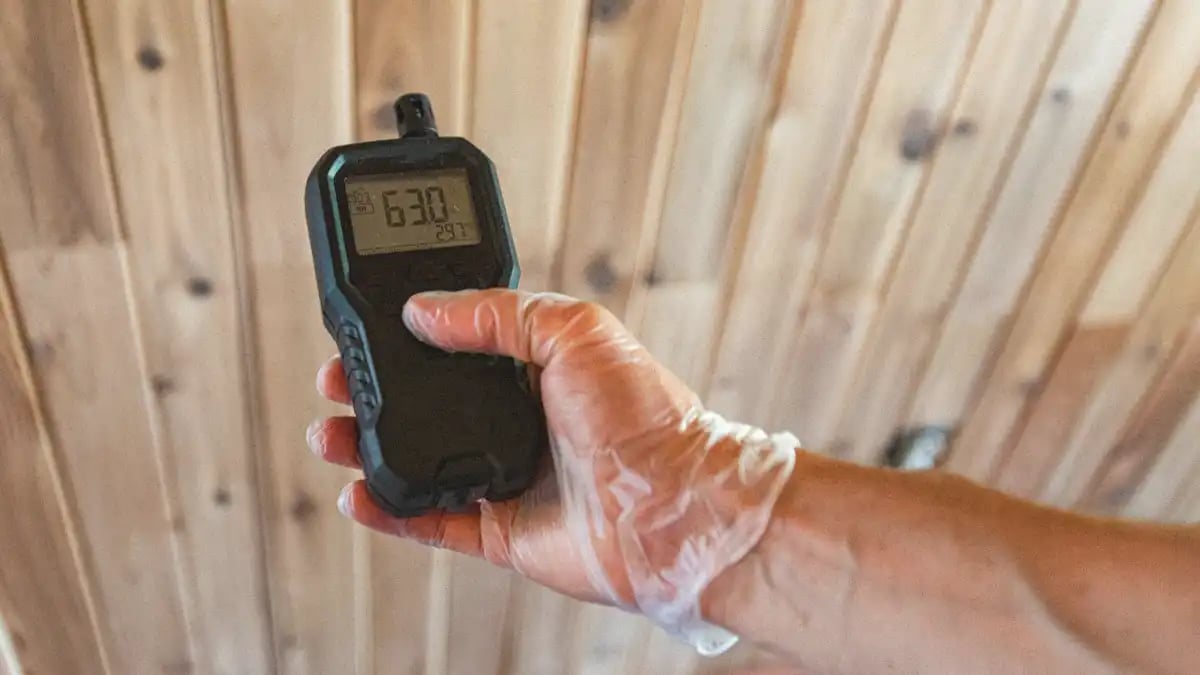
3. Use the Same Meters Every Time Measurements Are Taken
Consistency is critical, from start to finish of a drying project. This entails using the same meters correctly every day, in the same locations, to capture water damage moisture readings and identify positive trends in the drying process.
Using the same meters every time really does matter. That’s because variances do occur when it comes to professional moisture measurement tools. Moisture meter scales can not only differ from manufacturer to manufacturer, but also from one type of meter to another.
4. Create an Initial Moisture Map at the Start of a Project
Documentation lies at the heart of successful moisture mapping endeavors. And it begins with mapping a job site before any drying is initiated. Creating a preliminary visual representation of moisture in affected areas does all of the following:
- Proves your company performed an initial moisture inspection with due diligence
- Aids everyone’s understanding of the extent of damage (your team, your client, the client’s adjuster)
- Facilitates subsequent planning for drying and dehumidification equipment and processes
- Serves as a crucial reference document throughout the restoration process
If mold is suspected, this would also be an ideal time to perform a mold inspection and create a mold inspection report with your floor plan app. Of course, you would also want to keep the client informed about the need for a mold inspection. You could do so by briefly explaining pertinent topics such as ‘how does mold grow’ and ‘how a mold inspection can be helpful.’
5. Establish Dry Standards and Drying Goals
Doing so early, at the beginning of your project, is paramount for effective water damage restoration. Every project is unique, and the appropriate standards and goals must be identified early, based on factors such as the extent of damage, the materials involved, and environmental conditions.
Here’s how a standard and a goal differ:
- A dry standard serves as a benchmark for the drying process. It is determined by taking a moisture-content reading from a known dry material in an undamaged area of a structure. (For example, this might involve use of a wood moisture meter on an exposed joist in a basement ceiling.) Then a drying goal can be established, based on the dry standard.
- A drying goal is a target moisture level that may be the same as a corresponding dry standard, or within an acceptable proximity of that standard. Establishing a drying goal ensures that the drying process can be properly conducted, managed and measured.
Essentially, having well-defined dry standards and drying goals provides a roadmap for success. Both allow you and your team to ensure drying consistency, efficiency and effectiveness across projects. Moreover, clear communication of these standards and goals with clients helps manage expectations and build trust.
6. Monitor and Document Moisture Levels Daily
Producing an initial moisture map is just the beginning of proper moisture mapping, because it's not enough to simply document each job site once. Technicians should generate multiple moisture maps of each job site to clarify equipment placement, track daily drying progression, identify adjustments that need to be made, and prove a consistent and committed approach.
7. Submit a Thorough Mitigation Report at the End of Each Project
The final step in the moisture mapping process is the preparation and submission of a comprehensive field report (once all affected structural materials have been returned to their pre-loss condition). This report serves as a record of the restoration process, detailing all of the steps taken, the progress achieved, and the final results.
Utilizing a high-quality floor plan app, such as magicplan, can streamline this process by allowing you and your team to generate detailed PDF reports containing your moisture maps. This easy step can expedite the claims process and ensure a positive outcome for all parties involved.
Conclusion
Moisture mapping is a tangible management and reporting method for water damage restoration. It requires careful planning, meticulous execution, and thorough documentation. By adhering to the ‘seven keys to success’ outlined in this guide, your company can ensure successful project outcomes and high levels of client satisfaction.
CHECK OUT THESE OTHER HELPFUL ARTICLES:
Equipment Sizing and Placement Strategies for Water Damage Restoration

Benjamin Brown
Sales Consulting Manager
Uncovering Hidden Moisture
The Ultimate Guide to Inspecting and Reporting on Moisture Intrusion.

Share article