Restoration
.webp?width=727&height=408&name=Equipment%20Sizing_2x1_main%20(1).webp)
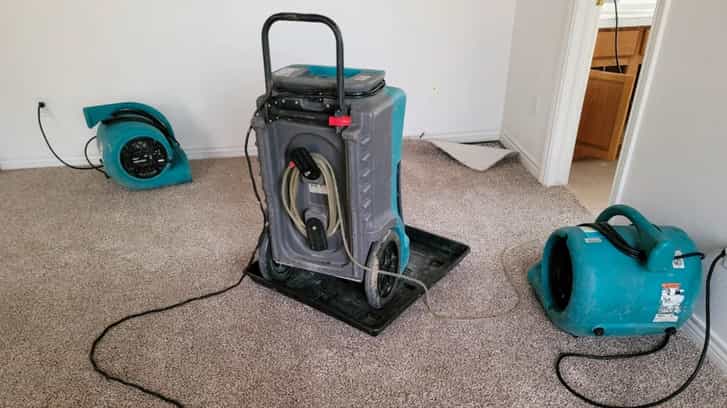
Water damage restoration is a time-sensitive task that demands precision and efficiency – especially when it comes to the use of professional drying equipment. Here, we delve into the details of appropriate sizing and placement for in-place drying.
Why Appropriate Sizing and Placement Are Important
Properly sizing water restoration equipment and placing it strategically within the affected area can significantly impact the outcome of your restoration efforts. These actions will ensure that you achieve optimum air movement, dehumidification, and temperature control, to accelerate moisture removal and achieve uniform drying.
On the flip side, improper equipment usage could result in drawn-out or uneven drying. This can affect the integrity of the job-site structure, promote mold infestation, decrease your efficiency, increase your costs and your risk of liability issues, and create a greater disruption for occupants. All of these problems can put you at a disadvantage.
What to Do Before You Select and Size Equipment
- Conduct a Water Damage Inspection — Investigate the job site to identify the water source, to make a preliminary determination regarding the water category and class, and to assess the extent of damage. (Make sure you use adequate personal protection equipment.)
- Determine Your Drying Goals — Identify what exactly needs to be dried. Determine optimal drying temperature and humidity levels. Decide what types of equipment will be best suited for this particular situation.
- Document the Affected Area with a Digital Sketch — A high-quality floor plan app, like magicplan, is ideal for this purpose. You can use this type of ‘water restoration software’ to map the job site effortlessly, in real time, and produce a precise sketch. This enables immediate visualization of the affected area. Then, you can place annotations, equipment objects, and photos into your sketch to plan equipment usage strategically.
- Create a Checklist for the Water Damage Equipment You Need to Gather — Having the right floor plan app will allow you to complete this easily. And, hey, who doesn’t like having a handy checklist? It can be a great tool for getting organized as you prepare to start your project.
- Develop an Estimate for Water Damage Restoration — Guess what? If your floor plan app has a built-in estimating feature, this step will be easy as well. You’ll be able to produce and share an accurate estimate right on site, to speed up the project-approval process.
- Extract Standing Water — Do so if this is deemed necessary before you bring in any necessary restoration drying equipment, such as air movers, air scrubbers, dehumidifiers, and wood-floor drying systems.
Completing all of these steps will help ensure that your restoration process operates smoothly.
How to Size Equipment Effectively
Sizing equipment requires a systematic approach – one that is based on guidelines provided by the Institute of Inspection, Cleaning and Restoration Certification (IICRC).
The IICRC S500 Standard for Professional Water Damage explains practical principles and protocols that are needed for water damage restoration projects. It will assist you in making appropriate decisions about sizing the equipment you plan to use.
By considering factors such as the affected area's square footage, the extent of moisture intrusion, and environmental conditions, you will be able to calculate the optimal equipment requirements to achieve desired drying goals. (Although, it is important to note that while the IICRC S500 provides basic principles and protocols as a foundation for knowledge, it does not cover complex water damage processes.)
How to Place Equipment Advantageously for the Best Outcomes
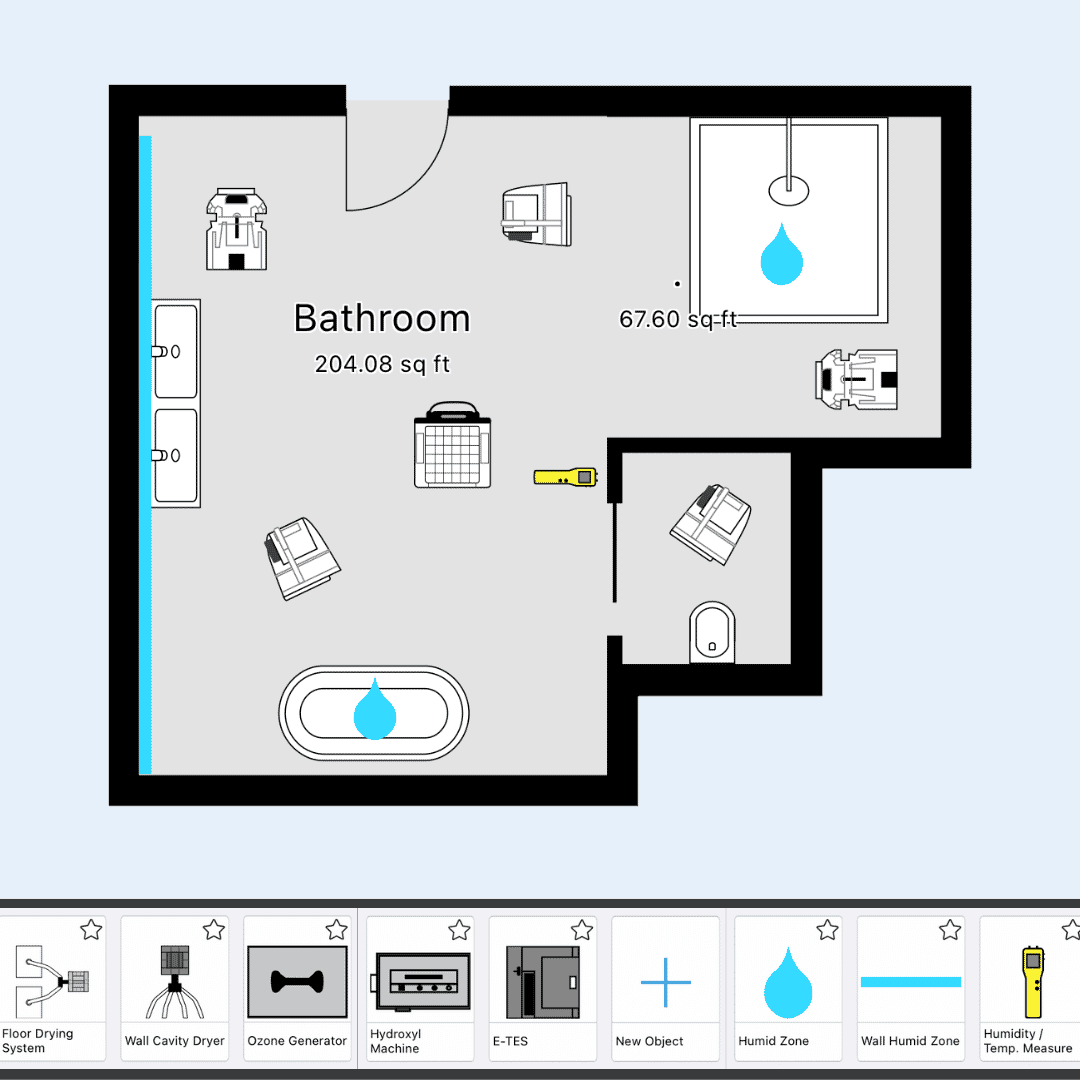
Strategic placement of equipment is just as crucial as choosing the right size. And, once again, your floor plan app is an ideal tool to use! It can help you make quick decisions about where to place equipment, and it can also make it easy for you to document the drying process. Here’s how to use it:
- Get Started: Open your app and pull up your job-site sketch.
- Visualize Your Equipment Layout: Use the sketch as a data-rich visual aid to facilitate the planning of equipment placement (including calculating distances accurately). It’s invaluable for making quick decisions about where equipment should be positioned.
- Mark Where to Place Equipment: After you’ve given some thought to the layout, it’s time to develop a concrete plan. All you have to do is modify your floor plan sketch to show precisely where equipment should be placed (i.e., identify optimal locations to ensure efficient drying throughout the entire affected area). A user-friendly floor plan app will make this activity quick and easy to accomplish; you’ll be able to insert notes directly on the floor plan.
- Involve Others: Share your digital equipment-placement plan with your team members and project stakeholders, to enhance transparency and facilitate communication. (Your app’s ‘reporting’ and ‘exporting’ features will make this simple to do.) This ensures that everyone is on the same page regarding your prepared strategy, to minimize the risk of misunderstandings and to ensure a collaborative and efficient restoration process.
- Track Progress: While the drying process is underway, insert annotations in your sketch to record ongoing moisture readings, along with any equipment relocations, additions or removals.
- Wrap It Up: When the drying process is completed, annotate your sketch again to document your results. When you’re done, you’ll have comprehensive project documentation, from start to finish. And you can share a final mitigation report with others.
Top Takeaways
When you’re hired to perform a water remediation process, equipment sizing and placement are critical determinants of success. How you perform those two tasks can make or break your project. The key is to apply smart strategies for optimizing equipment usage. This will allow you to increase efficiency, minimize costs, deliver excellent results, and ensure client satisfaction.
READ MORE:

Bernd Wolfram
Head of Product
Uncovering Hidden Moisture
The Ultimate Guide to Inspecting and Reporting on Moisture Intrusion.

Share article