Restoration
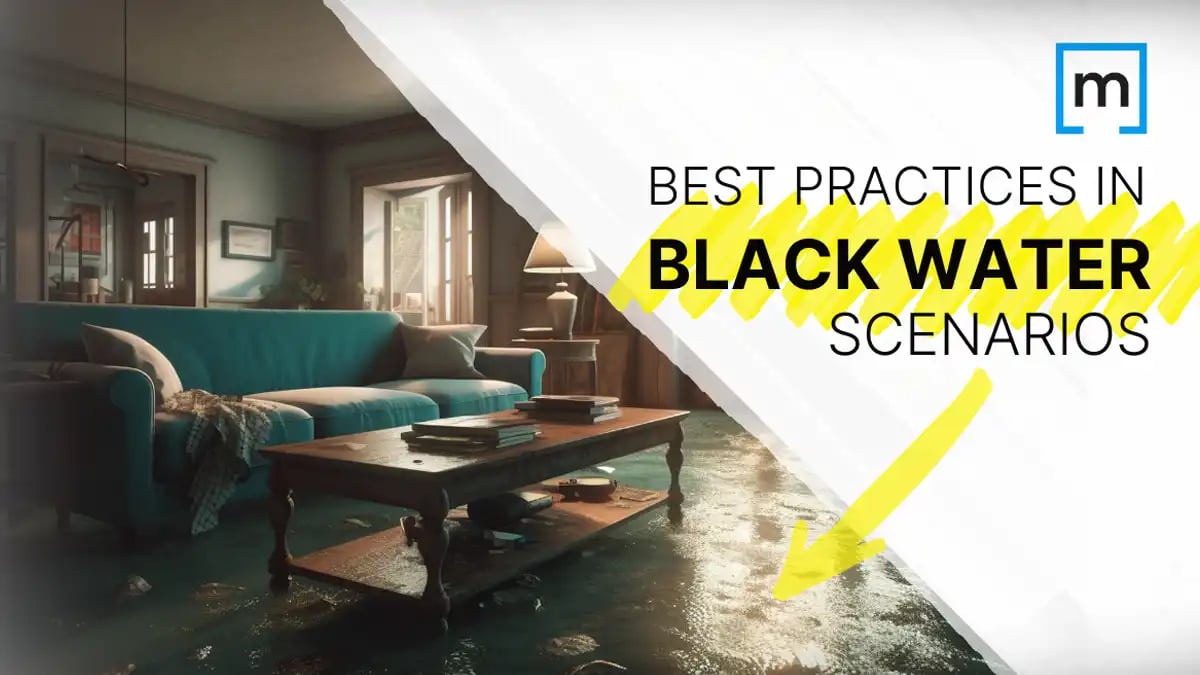
Infiltration of Category 3 black water is the worst kind of water damage. It poses significant health risks due to the presence of harmful bacteria, viruses and other pathogens. So, proper handling and removal of contaminated materials is critical to ensure the safety of your restoration team, as well as the structure’s occupants. This article outlines best practices during each key step of that process.
Step 1: Prepare to Enter the Structure
Adequate preparation is vital for safety and proficiency.
Best Practices:
- Make sure your business has sufficient insurance coverage for this type of work.
- Confirm that electricity has been cut off to water-damaged areas at the job site.
- Gather necessary assessment items, including diagnostic tools, a preprepared checklist to follow, and a mobile device loaded with a multi-functional floor plan app.
- Protect yourself with appropriate personal protective equipment (PPE) before entering the job site (e.g., gloves, a respirator, goggles, waterproof boots, and a full-body coverall).
Step 2: Conduct an Initial Assessment
Before beginning any material-removal process, it's essential to assess the extent of the contamination. A thorough assessment helps in planning the scope of work and ensuring all necessary resources are available.
Best Practices:
- Determine the source of black water.
- Identify affected areas.
- Evaluate the types and amounts of contaminated materials present.
Step 3: Gather Initial Documentation
The best way to do this is to use a high-quality floor plan app. For example, the magicplan app will streamline the documentation process by allowing you to complete all of the best practices listed below:
Best Practices:
- Digitally sketch water-affected rooms and water-intrusion points in real time.
- Enhance your sketch with comprehensive, built-in documentation features (sketch-enhancing objects, 360-degree panoramas, photos of water damage, images of digital-instrument readings, descriptive notes) to describe the extent of water damage.
- Use your app to also create a complementary water damage mitigation plan (i.e., scope of work document).
Step 4: Share Your Initial Documentation with Others
The collaboration aspect is particularly beneficial when dealing with complex, black-water-damage projects. Fortunately, a good floor plan app will allow you to share your documentation quickly and easily.
Best Practices:
- Share the documentation with your team, to make them aware of your findings and bring them up to speed.
- Distribute the documentation to any third-party experts who may need to confirm your assessment of the black-water scenario.
- Send your documentation – along with your estimate for the cost of mitigation – to the property owner and their insurance claims adjuster.
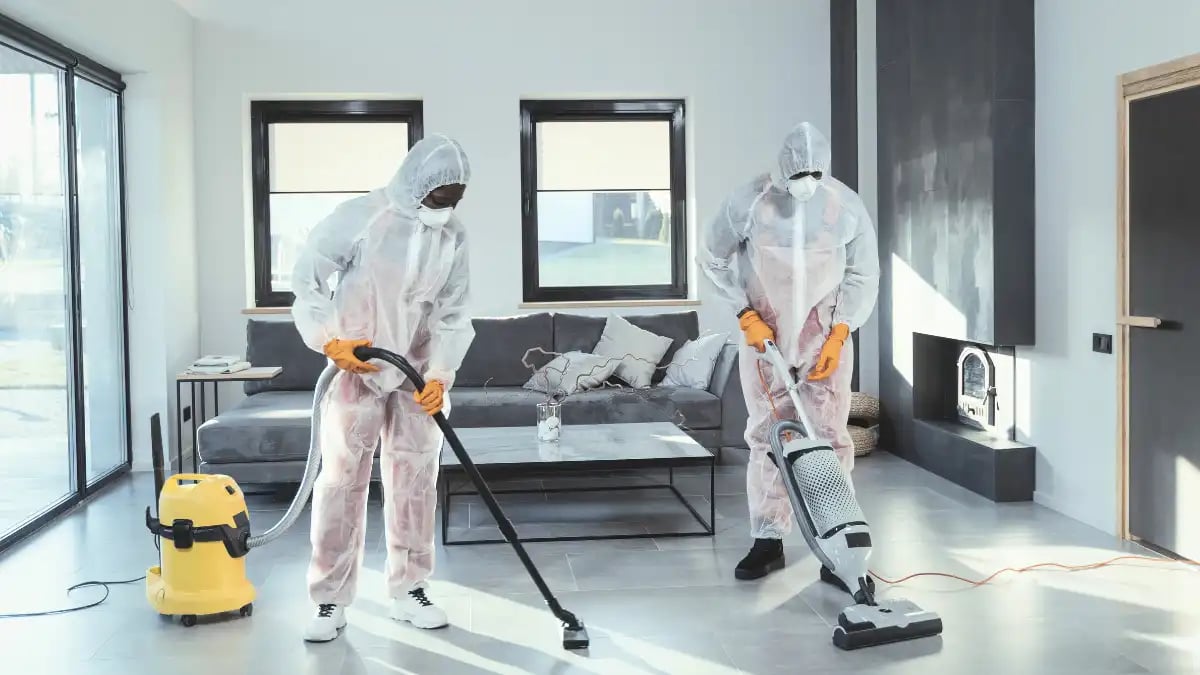
Step 5: Ensure Containment and Worker Safety
Ready to go to work? Proper containment and other precautions will prevent the spread of contaminants to unaffected areas and protect the health of your team and building occupants.
Best Practices:
- Set up plastic-sheeting containment barriers to prevent cross-contamination of unaffected areas.
- Utilize negative air pressure systems to further enhance containment efforts.
- Affirm that all team members are adequately trained and certified, and use appropriate PPE to protect against exposure to harmful pathogens.
- Confirm that everyone is following the current IICRC S500 Professional Standard for Water Restoration and the S520 Professional Standard for Mold Remediation; both documents contain good advice on managing the risks associated with contaminated Category 3 water damage.
Step 6: Remove Standing Water
The removal of standing black water is a critical step to prevent further contamination and damage.
Best Practices:
- Use specialized equipment, such as submersible pumps and wet vacuums designed for handling hazardous materials, to extract the black water.
- Transport the extracted water to an approved disposal facility.
- Disinfect and clean all equipment used in the extraction process to prevent cross-contamination.
Step 7: Remove Contaminated Materials
Once the standing water is removed, the next step is to carefully remove all materials that have come into contact with the black water. This includes porous materials such as carpets, drywall, insulation, upholstered furniture, particleboard furniture, and paper items that cannot be adequately cleaned and disinfected.
Best Practices:
- Make sure all team members understand and prepare to follow industry standards and regulatory requirements for the safe removal of contaminated materials.
- Begin by removing the most heavily contaminated materials first, then move on to less-affected materials.
- Use heavy-duty trash bags or containers, and seal those tightly to prevent leaks.
- Correctly dispose contaminated materials by following EPA, state and local environmental regulations and guidelines.
Step 8: Clean and Disinfect Remaining Surfaces, and Address Air Quality
After removing the contaminated materials, thoroughly clean and disinfect nonporous surfaces to eliminate any residual pathogens. This step is crucial for preventing mold growth and ensuring the area is safe for future use.
Best Practices:
- Apply EPA-registered antimicrobial treatments to remove any bacteria and mold growth (the most dangerous water hazard threats).
- Pay special attention to hard-to-reach areas and hidden spaces where contaminants may linger.
- Use air scrubbers and fogging machines to eradicate lingering odors and airborne contaminants.
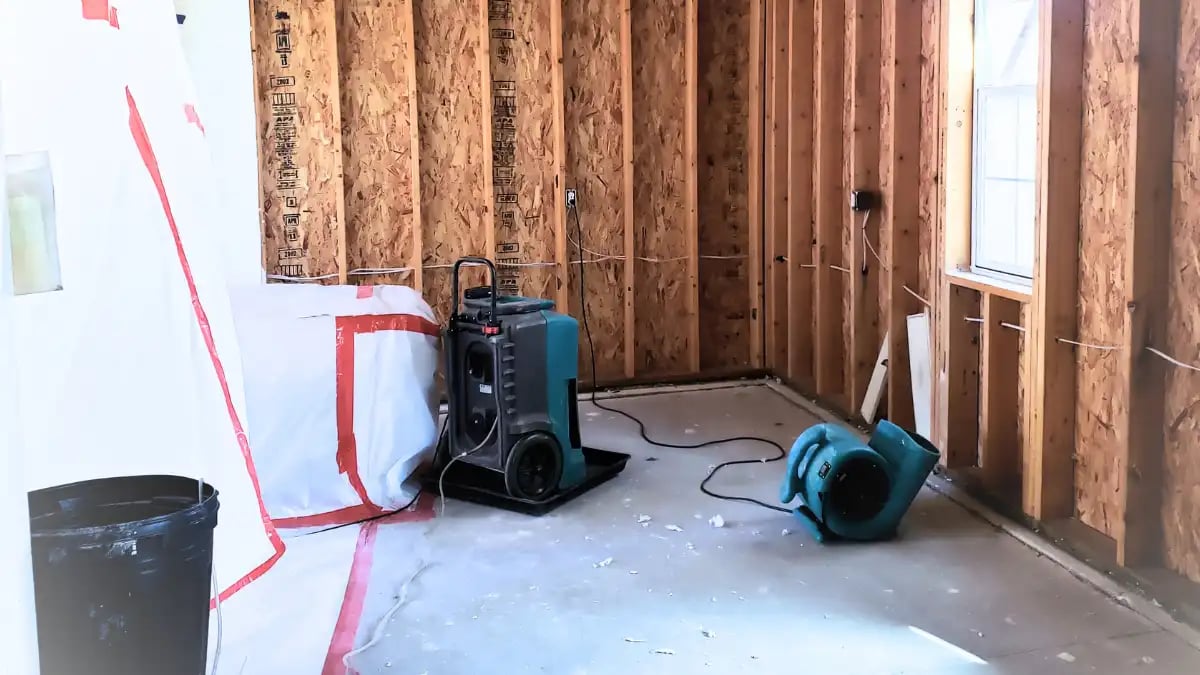
Step 9: Dry the Workspace
This step involves removing any remaining moisture from the affected area by using specialized drying equipment.
Best Practices:
- Use high-capacity water mitigation equipment – such as air movers, dehumidifiers and heaters – to accelerate the drying process (which is especially important during an extensive flood cleanup project).
- Maintain a controlled environment to prevent fluctuations in humidity and temperature, which can hinder the drying process.
- Monitor moisture levels regularly using hygrometers and moisture meters to ensure the area is thoroughly dried (to prevent mold growth and further structural damage).
- Use your floor plan app to create and maintain dry logs for water mitigation.
Step 10: Verify and Report on Project Completion
Once the remediation process is complete, conduct a thorough inspection and testing to make sure the area is free from contaminants and safe for occupancy.
Best Practices:
- Perform both air and surface sampling to make sure harmful pathogens and mold spores are no longer present.
- Document sampling results in your floor plan sketch for recordkeeping and reporting purposes.
- Use your floor plan app to create a comprehensive mitigation report document, and share it with key stakeholders (magicplan allows you to do both tasks easily within the app, so you can submit your report to the property owner, their insurance adjuster, and relevant authorities).
Hang on to This Handy Guide
While this collection of best practices is not all-inclusive, it can serve as a helpful resource for tackling heavily contaminated water. Refer back to it often as a handy reference guide, and continue to build your reputation as a professional black-water restoration expert!
DISCOVER TIPS FOR ESTIMATING, TOO:
3 Strategies for Efficient Estimating of Water Damage Mitigation Projects

Benjamin Brown
Sales Consulting Manager
Uncovering Hidden Moisture
The Ultimate Guide to Inspecting and Reporting on Moisture Intrusion.

Share article