Restoration
If you’re a professional restoration contractor, you may often need to create residential mold reports. Thorough, accurate reports serve as written evidence, which is essential for verifying insurance claims, determining any restoration work that is needed, and getting paid for completed work. So, let’s review some best practices for developing a report.
1. Understand Mold Growth and the Need for Timely Remediation
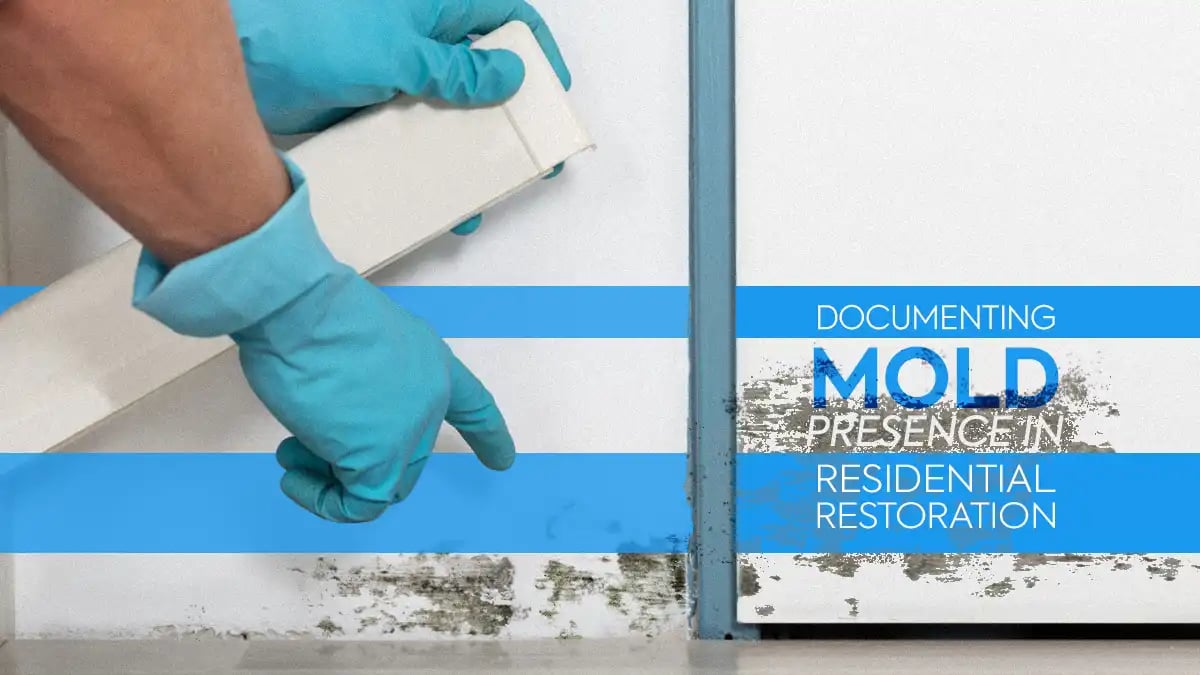
Mold is a type of fungus that thrives and spreads in moist environments where organic matter is present. Its growth not only damages building materials, it also releases allergens and toxins into the air, posing health hazards to workers and occupants. Therefore, timely remediation is crucial to prevent further spread and mitigate potential health risks.
How Does Mold Grow?
Wherever moisture is present, mold can multiply rapidly. Spores will begin to form in as little as 24 hours after water damage occurs, and will spread over time. That’s why customers and insurers will depend on you to know how to remediate mold quickly.
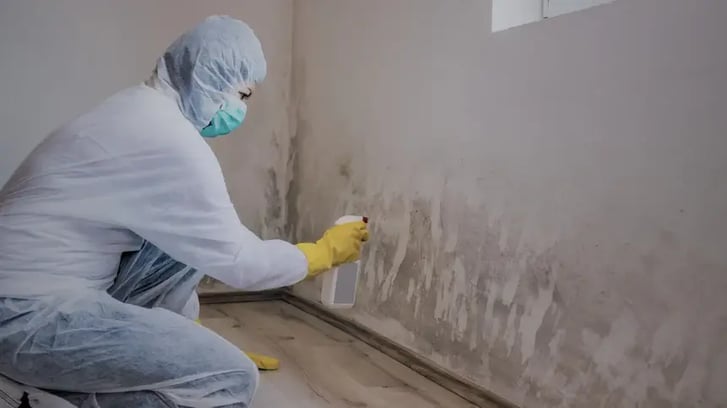
2. Employ Proper Safety Protocols
Prior to starting your mold and moisture inspection, make sure the residential job site is safe to enter. If the residence has sustained any damage, check for any electrical hazards, fire hazards and gas leaks. You may even need to have the electric and gas services turned off before entering the home. If you suspect standing water is present inside, be sure to put on sturdy, slip-resistant shoes. You should also guard yourself with appropriate personal protective equipment (PPE), including eye protection, skin protection, and a respirator that filters mold spores.
Overall, you’ll want to adhere to the Institute of Inspection Cleaning and Restoration Certification (IICRC) S520 Standard during any interior inspection where mold might be present. This standard describes the exact procedures to be followed and the precautions to be taken in residential settings.
3. Conduct a Thorough Mold and Water Damage Inspection
Once you are prepared to enter the home, you’ll need to conduct an in-depth inspection. This will give you a clearer picture of the cause of mold, the impact on the home and occupants, and the type of mold remediation process that will be required. Be sure to include an adequate description for each type of visible damage you find (where is it, what is it, how bad is it).
TIP: A mold and water damage inspection typically starts from the uppermost area inside a home and works downward.
Again, refer to the S520 Standard, which provides a framework for conducting a comprehensive assessment. (It also covers other key steps, including moisture measurement, sampling, documenting findings accurately, remediation planning, execution, and post-remediation verification.)
4. Make Sure You Have Modern Tools for Efficient Mold Identification
Modern technology has revolutionized the way restoration contractors identify mold presence and its moisture sources. Instruments such as moisture meters, thermo-hygrometers, and thermal cameras enable precise detection of moisture levels and hidden mold colonies in concealed spaces. These tools empower contractors such as you to pinpoint problem areas swiftly and accurately, facilitating targeted remediation efforts.
5. Use a Floor Plan App for Comprehensive Documentation
Among the many tools available to mold remediators, a floor plan app stands out as an invaluable asset for documenting mold presence. An intuitive app, such as magicplan, allows you to conduct digital mold and moisture mapping, annotate problem areas, add photos, recommend work to be done, and track progress throughout the remediation process. These steps allow you to produce detailed work reports, which make it easier for you to get paid by insurers.
A good app will also allow you to customize forms, checklists and price lists specific to the type and scope of damage.
Plus, if your floor plan app offers seamless integration with other technologies, such as Xactimate®, that helps you streamline data collection even further and enhance overall efficiency.
6. Build a Great Initial Report with Your App at the Start of Every Project
A high-quality floor plan app will enable you to sketch a floor plan, and then use that plan to create an initial report. Here’s how to build it:
- Begin by Inserting Basic Information. It should state the following
- Your name (the person who is writing the report), along with your title and company name
- The date on which you are preparing the report
- Name of the property owner (claimant)
- Details of the property – i.e., location, type of property, age of property
- Gather and Document Moisture and Humidity Readings. There’s often more to mold and water damage than what meets the eye. That’s why moisture readings of hidden areas are a critical part of water damage assessment and reporting. You can use a digital moisture meter to test the moisture levels of the home’s ceilings, walls and floors. Then add those moisture meter readings to your mold and water damage report. In addition, you can use a digital hygrometer to test indoor humidity levels (i.e., the moisture content of the air). Be sure to add those readings as well.
- Tell About Your Professional Tools. Within your report, try to describe the exact tools you used to gather your moisture and humidity readings. And do mention that you use a digital floor plan app for documentation. Specific information like this can help increase the thoroughness of your report, to make it easier for the homeowner’s insurance adjuster to approve your work.
- Identify Any Health Threats Inside the Home. Worrisome health issues include any unsafe and unhygienic conditions brought on by moisture intrusion. One of the most dangerous effects of unabated water damage is mold. It can hide above ceilings, behind walls, under floors, behind cabinets, and in other nonvisible areas, and can lead to allergic reactions and respiratory and digestive problems.
- Add Your Recommendations for Mitigation and Restoration Measures. Once your mold and water damage inspection documentation is complete, you can add a section that outlines your recommendations for next steps. Try to be as detailed as possible when describing proposed mold and water damage mitigation. The best way to do that is to mark up your digital floor plan with work recommendations for each affected area of the home. This is a great way to communicate exactly what needs to be done.
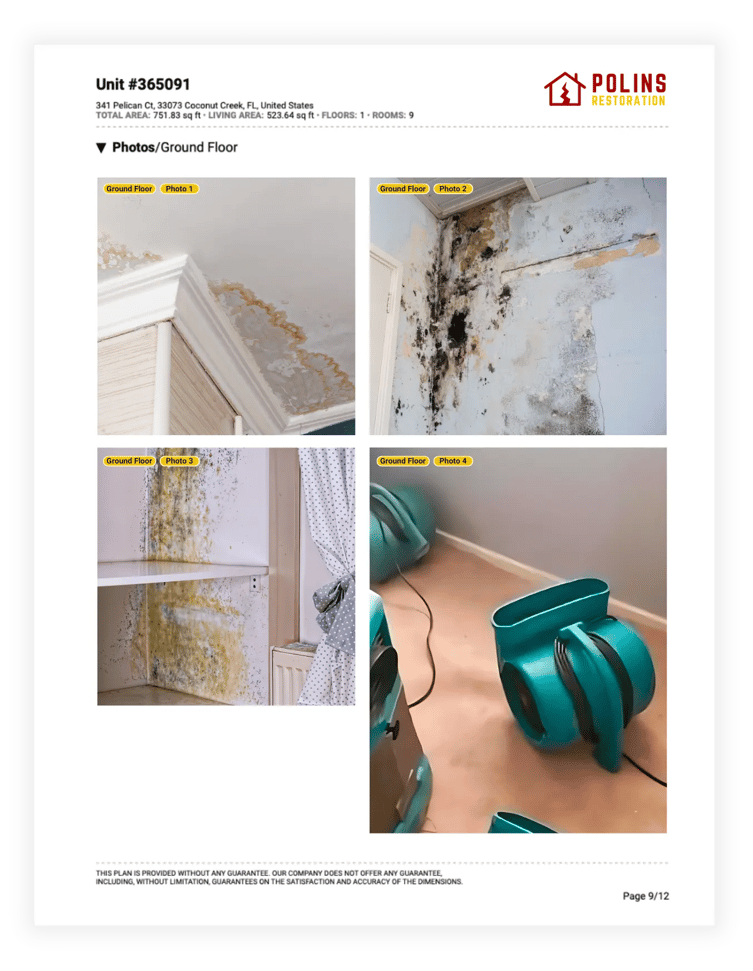
- Enhance Your Initial Report with Detailed Photos. During your inspection, you can take photos easily with a mobile device. Be sure to collect images of all visible mold, and the cause(s) of the mold.
Later, you can also create a mid-project report and, of course, a final report.
Key Takeaways
Combating mold requires a multifaceted approach – one that involves understanding the fundamentals of mold growth, employing proper safety protocols, conducting a thorough and proper mold inspection, equipping yourself with modern mold-detection tools, and using a floor plan app for comprehensive documentation. Through these concerted efforts, you can safeguard both the structural integrity of homes and the health of occupants against the pervasive threat of mold.
READ MORE:
One Dozen Helpful Tools for Finding and Documenting Water Damage

Bernd Wolfram
Head of Product
Uncovering Hidden Moisture
The Ultimate Guide to Inspecting and Reporting on Moisture Intrusion.

Share article